Cloudflare Workers 反代 Docker
简介
Cloudflare Workers 是一个无服务器计算平台,它允许你在 Cloudflare 全球边缘网络中运行 JavaScript 代码。通过 Workers,你可以创建一个反向代理来加速 Docker 镜像的拉取,绕过网络限制,或者解决跨域问题。
所需工具
Cloudflare 账号
域名并绑定到cloudflare
步骤 1: 创建 Cloudflare Worker
登录 Cloudflare 账号,并在侧边栏中选择 Workers and Pages -> 概述,进入 Worker 控制面板。

步骤 3: 创建应用程序
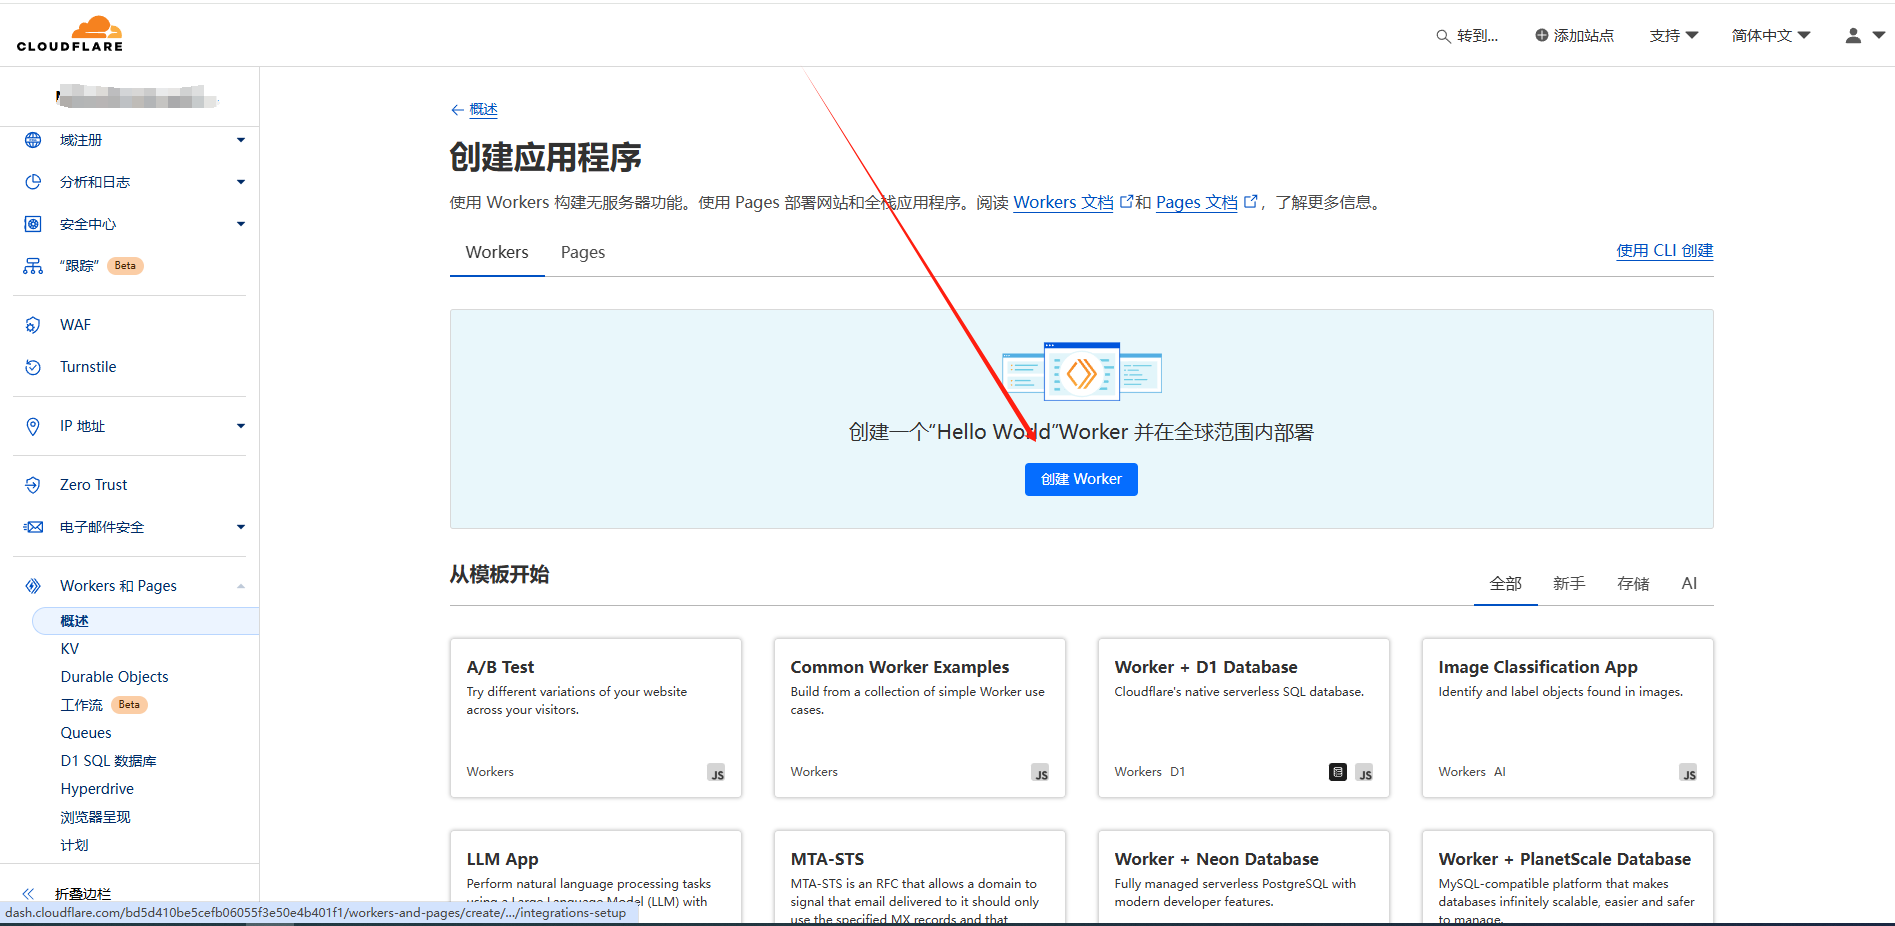
选择创建应用程序,创建你的第一个反向代理加速器。在接下来的页面中继续点创建。
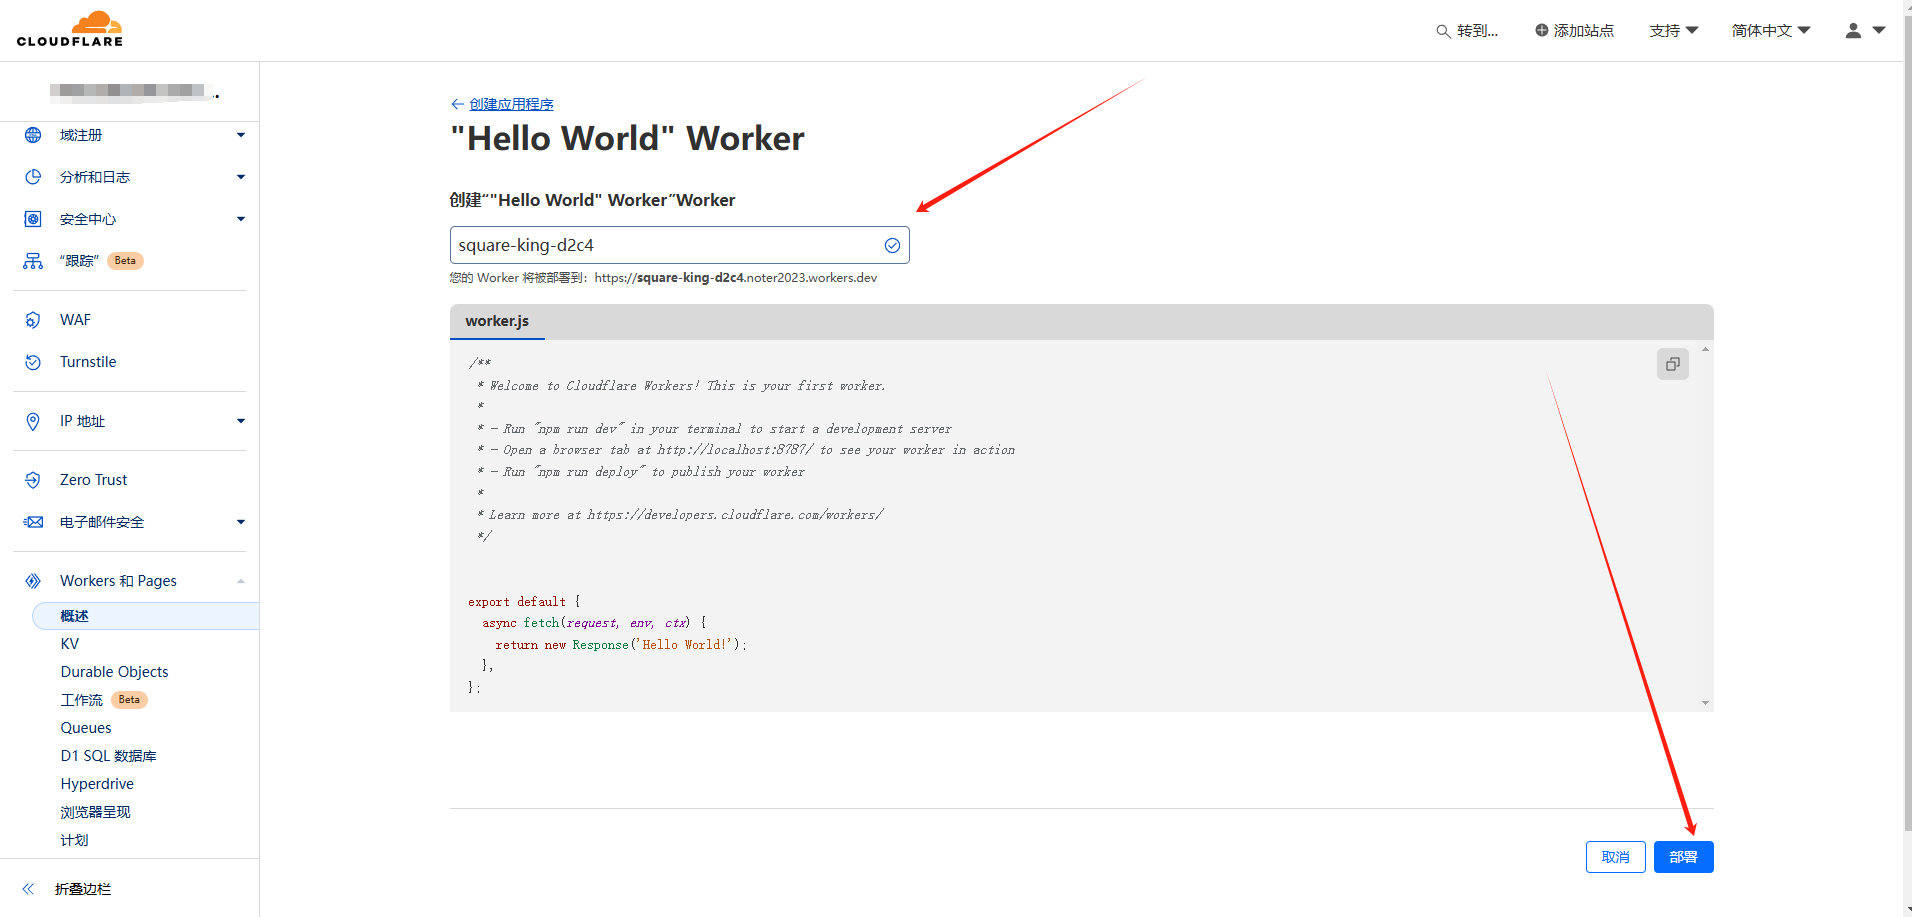
到了部署 hello World 脚本部分,你可以修改名称后,点击右下角部署进行下一步
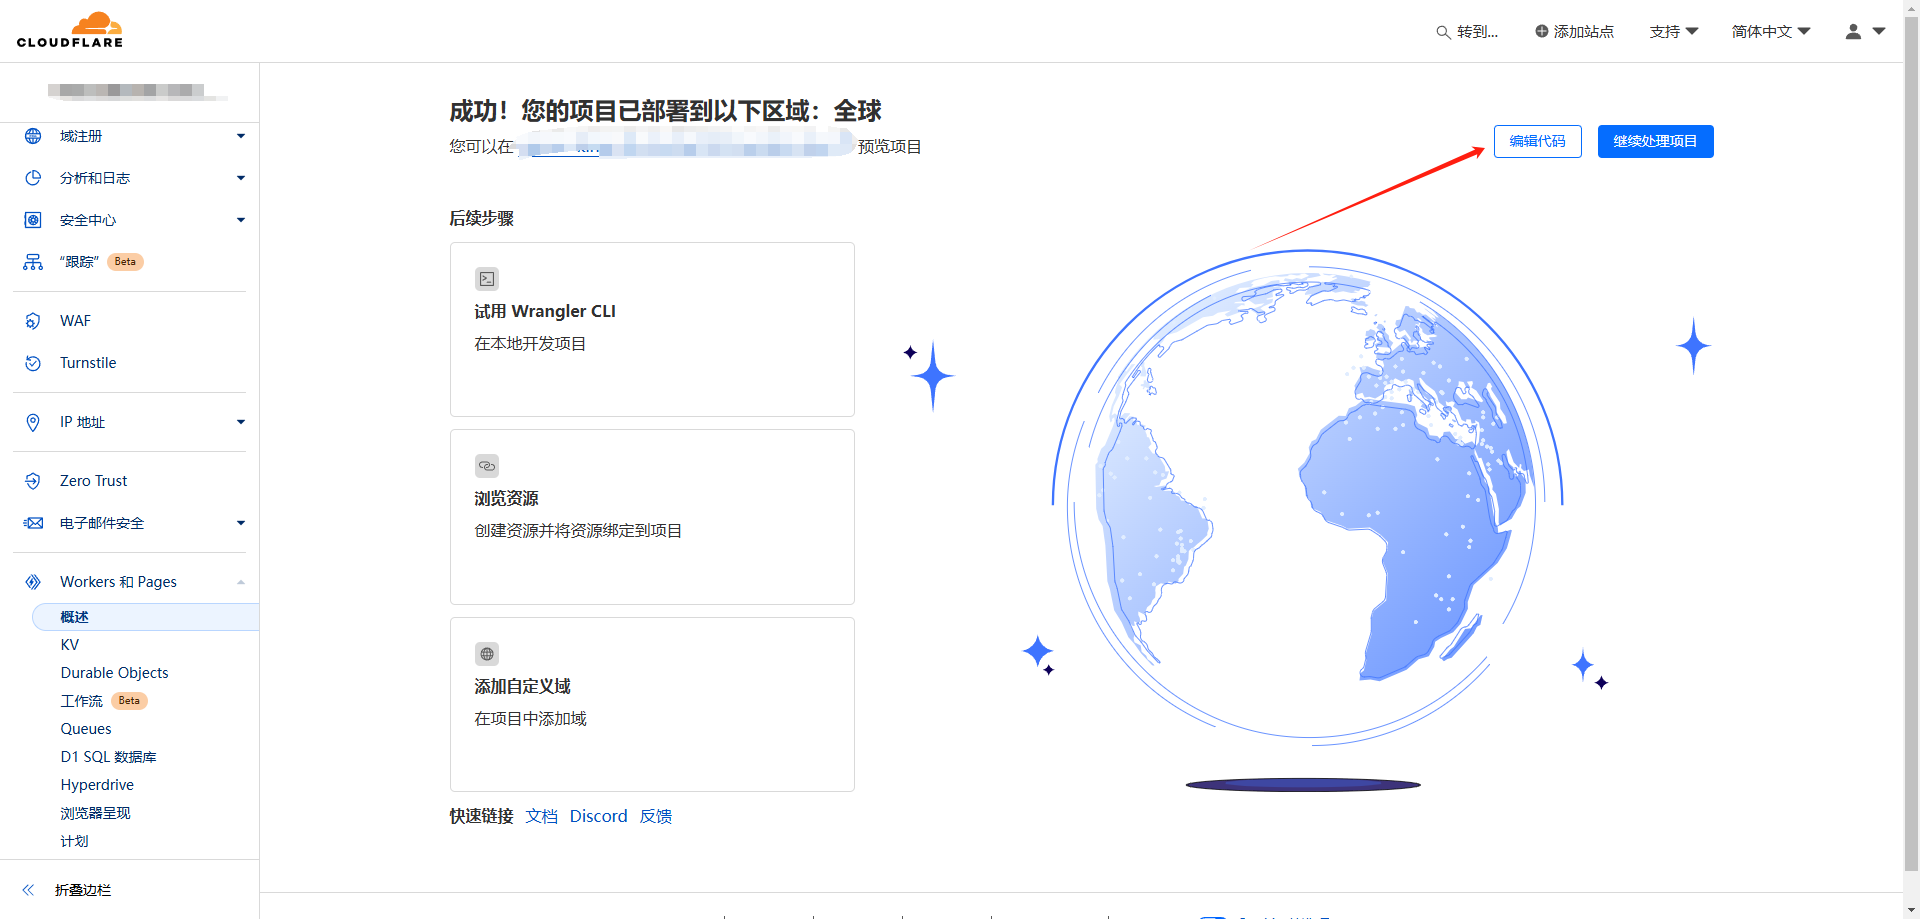
到下一步后,你的 worker 就创建好了,下面点击修改代码。
步骤 4: 编写通用转发代码
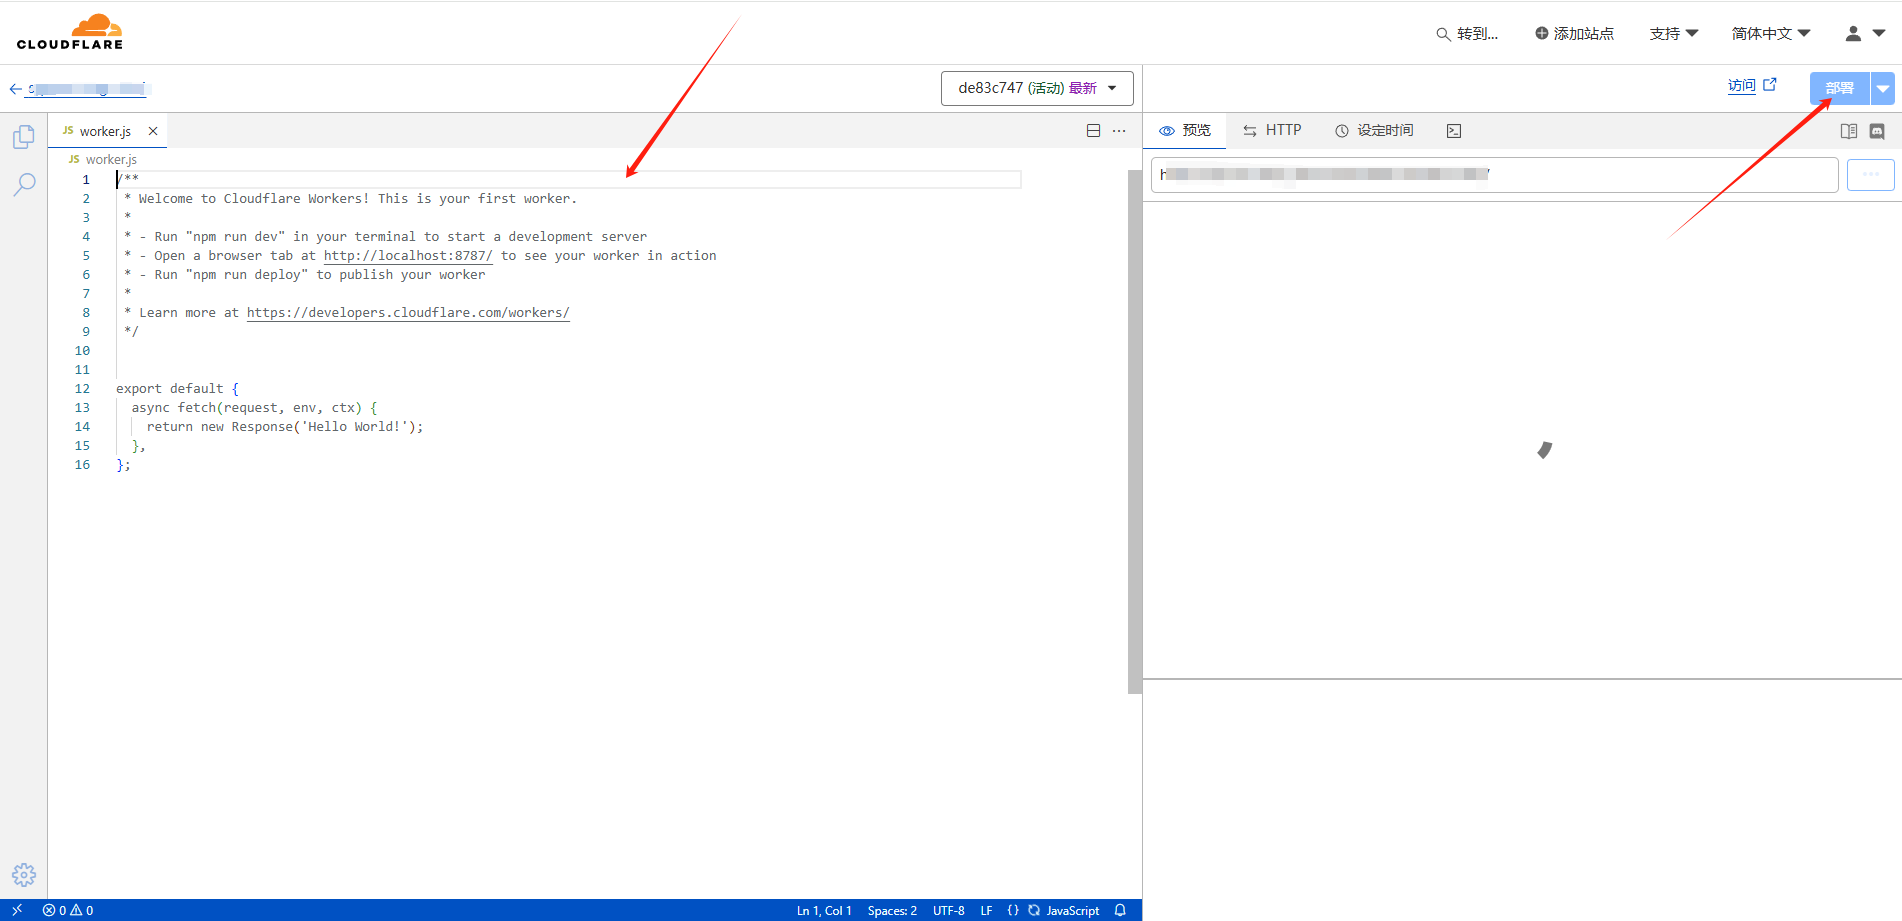 以下是通用转发接口的代码,适用于所有加速服务,你可以编辑左侧代码使其转发网站内容:
const hub_host = 'registry-1.docker.io'
const auth_url = 'https://auth.docker.io'
const workers_url = 'https://hub.8888.xyz'

export default {
  async fetch(request) {
    const url = new URL(request.url);
    const getReqHeader = (key) => request.headers.get(key);

    if (url.pathname === '/') {
      return index();
    }

    if (url.pathname === '/token') {
      let token_parameter = {
        headers: {
          'Host': 'auth.docker.io',
          'User-Agent': getReqHeader("User-Agent"),
          'Accept': getReqHeader("Accept"),
          'Accept-Language': getReqHeader("Accept-Language"),
          'Accept-Encoding': getReqHeader("Accept-Encoding"),
          'Connection': 'keep-alive',
          'Cache-Control': 'max-age=0'
        },
        cf: {
          cacheTtlByStatus: { "200-299": 120, "404": 10, "500-599": 3 }
        }
      };
      let token_url = auth_url + url.pathname + url.search
      return fetch(new Request(token_url, request), token_parameter)
    }

    url.hostname = hub_host;

    let parameter = {
      headers: {
        'Host': hub_host,
        'User-Agent': getReqHeader("User-Agent"),
        'Accept': getReqHeader("Accept"),
        'Accept-Language': getReqHeader("Accept-Language"),
        'Accept-Encoding': getReqHeader("Accept-Encoding"),
        'Connection': 'keep-alive',
        'Cache-Control': 'max-age=0'
      },
      redirect: 'follow',
      cf: {
        cacheTtlByStatus: { "200-299": 2592000, "404": 10, "500-599": 3 }
      },
    };

    if (request.headers.has("Authorization")) {
      parameter.headers.Authorization = getReqHeader("Authorization");
    }

    let res = await fetch(new Request(url, request), parameter)
    res = new Response(res.body, res)

    if (res.headers.has("Www-Authenticate")) {
      let auth = res.headers.get("Www-Authenticate");
      let re = new RegExp(auth_url, 'g');
      res.headers.set("Www-Authenticate", res.headers.get("Www-Authenticate").replace(re, workers_url));
    }

    return res;
  },
};

async function index() {
  return new Response(
    `<html lang="zh-CN">
    <head>
      <meta charset="UTF-8" />
      <meta name="viewport" content="width=device-width, initial-scale=1.0" />
      <title>Docker Hub Proxy</title>
      <style>
        body {
          background-color: #f9f9f9;
          margin: 0;
          padding: 0;
        }
        .container {
          max-width: 800px;
          margin: 2em auto;
          background-color: #ffffff;
          padding: 20px;
          border-radius: 12px;
          box-shadow: 0 4px 8px rgba(0, 0, 0, 0.1);
        }
        h1 {
          font-size: 2.5em;
          margin-top: 0;
          margin-bottom: 20px;
          text-align: center;
          color: #333;
          border-bottom: 2px solid #ddd;
          padding-bottom: 0.5em;
        }
        p {
          color: #555;
          line-height: 1.8;
          text-align: center;
        }
        a {
          text-decoration: none;
          color: #007bff;
        }
        @media screen and (max-width: 768px) {
          .container {
            padding: 15px;
            margin: 2em 15px;
          }
          h1 {
            font-size: 1.8em;
          }
        }
      </style>
    </head>
    <body>
      <div class="container">
        <h1>Docker Hub Proxy</h1>
        <p>
          由
          <a target="_blank" href="https://www.8888.xyz">8888</a>
          强力驱动
        </p>
        <p id="cf"></p>
      </div>
      <script>
        async function updateCloudflareInfo() {
          try {
            const response = await fetch("/cdn-cgi/trace");
            if (response.ok) {
              const data = await response.text();
              const lines = data.split("\\n");
              const info = {};
              lines.forEach((line) => {
                const parts = line.split("=");
                if (parts.length === 2) {
                  info[parts[0]] = parts[1];
                }
              });
              const cfElement = document.getElementById("cf");
              const displayText =
                info.loc +
                " " +
                info.ip +
                " | " +
                info.colo +
                " | " +
                info.http +
                " | " +
                info.visit_scheme +
                " | " +
                info.tls +
                " | " +
                info.kex;
              cfElement.textContent = displayText;
            }
          } catch (error) {
            console.error("获取Cloudflare节点信息失败: ", error);
          }
        }
        window.addEventListener("load", updateCloudflareInfo);
      </script>
    </body>
</html>`,
    { headers: { "Content-Type": "text/html" } }
  );
}
步骤 5: 绑定域名
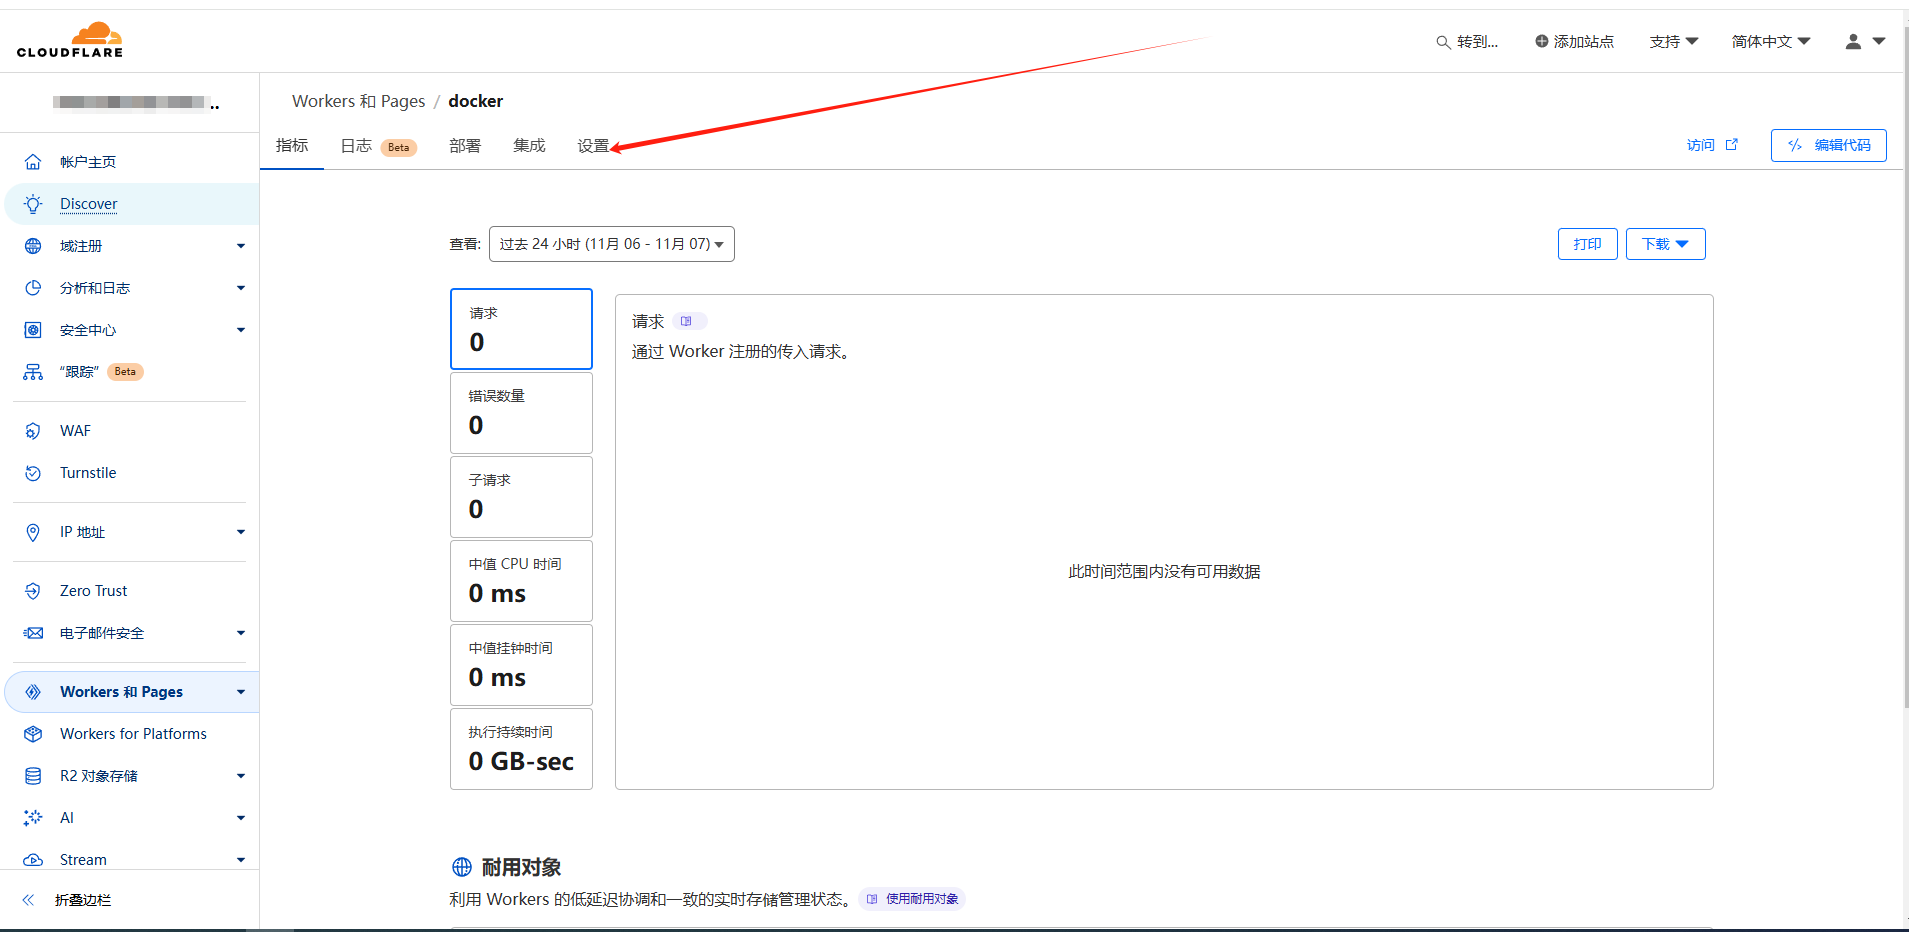
由于自带的 workers.dev 域名无法正常访问,还需要在 Settings -> Domains & Routes 绑定自己的域名

注意事项
使用 Cloudflare 提供的 Workers 进行反代,需要注意,反代可能会违反 Cloudflare 的 ToS 导致账号违规。
hub_host:Docker Hub 的主机名。auth_url:Docker 认证服务的 URL。workers_url:您的 Workers 服务的 URL。
通过这种方式,你可以利用 Cloudflare 的全球网络加速 Docker 镜像的下载,同时绕过一些网络限制。这只是一个基本的示例,你可以根据需要调整和优化代码,以满足更具体的需求


评论区